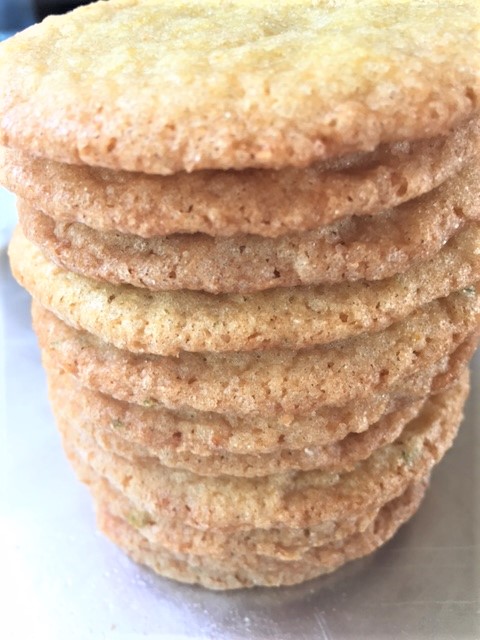
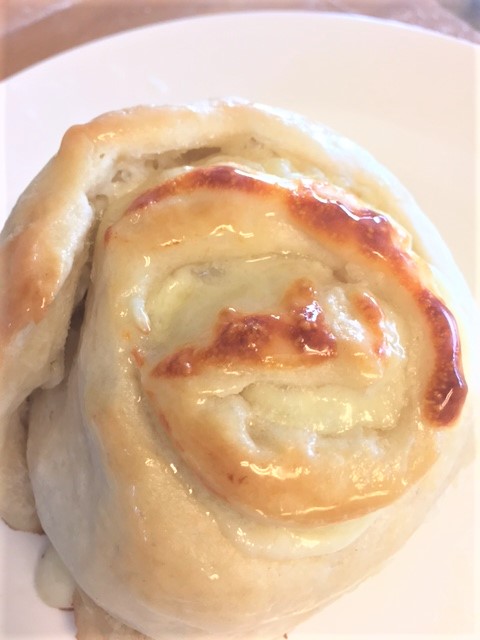
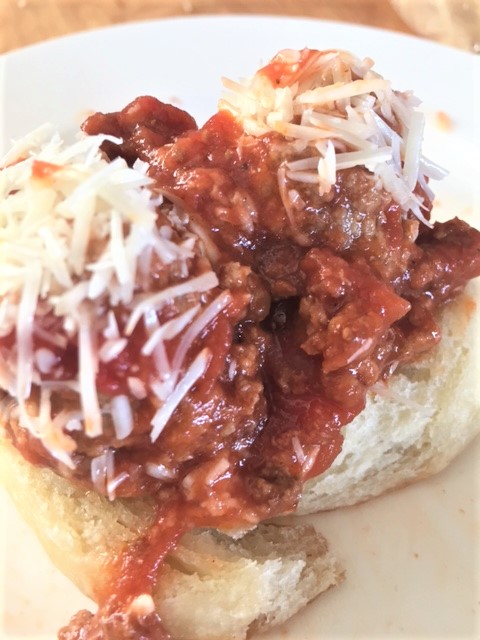
Ok, so I know you all know how to make a sandwich. But do you have a good sauce to put on your sandwich? I do. I do love a good sandwich…..I love a good tuna melt, or a good pastrami too. Then there is a BLTA. Oh, and what about a good meatball sandwich? I even enjoy a really good liverwurst sandwich. Yep, I know you’re probably saying EWWWWWWW to the liverwurst. Hahahahah, but it’s so good!
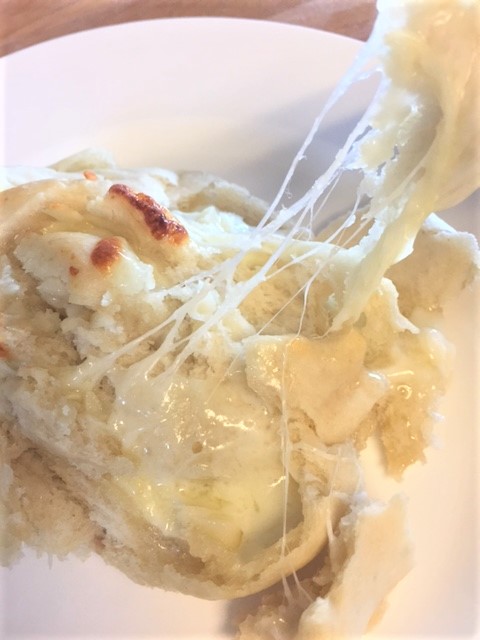
I think it’s really fun to build a sandwich. I make a great sandwich sauce that goes well with a lot of different sandwiches. It’s even a great sauce for potato salad or pasta salad. It’s been my secret sauce, but I decided to share it with ya’ll. You’ll want to make a big batch of it!
Oh, and it makes a great dipping sauce too, for French fries or wedge fries. Let me know if you make it!
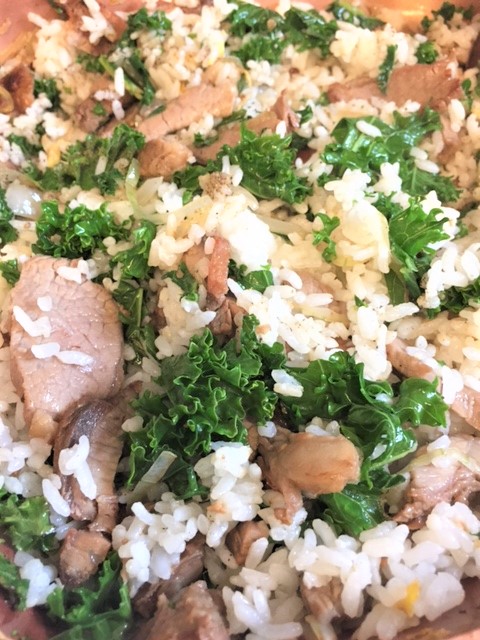
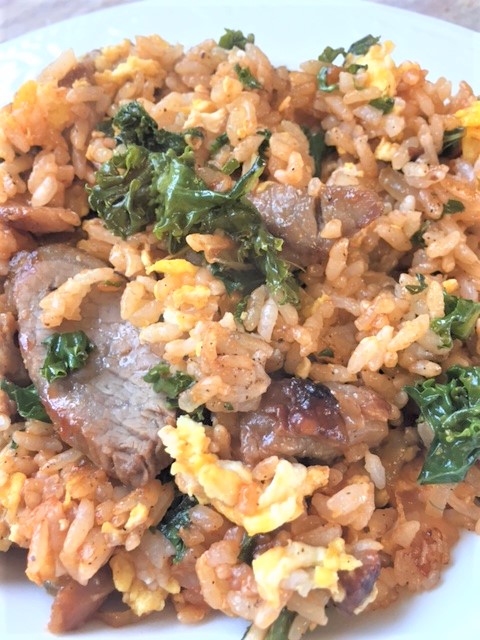
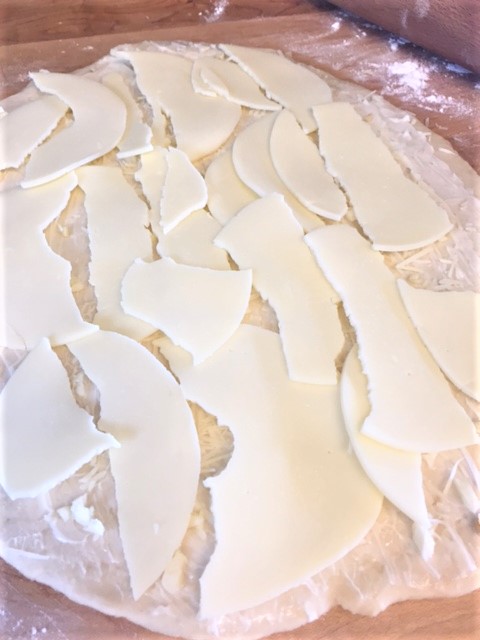
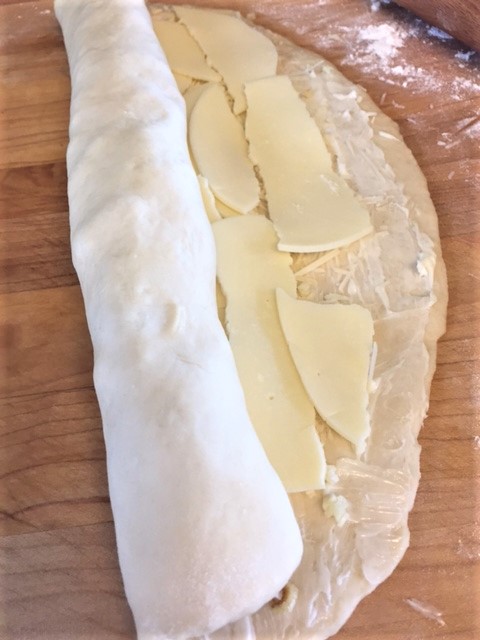
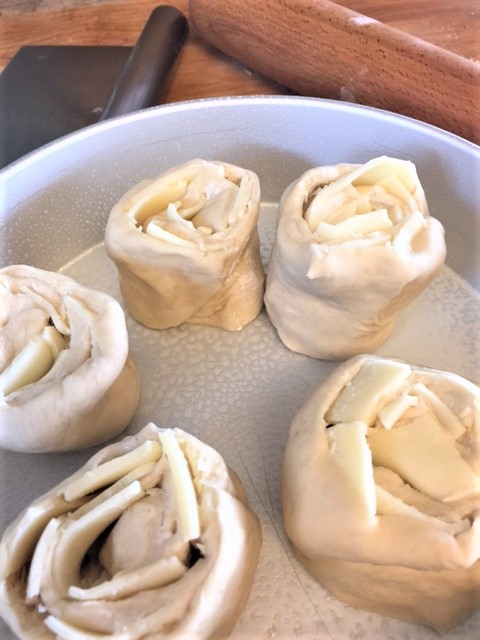
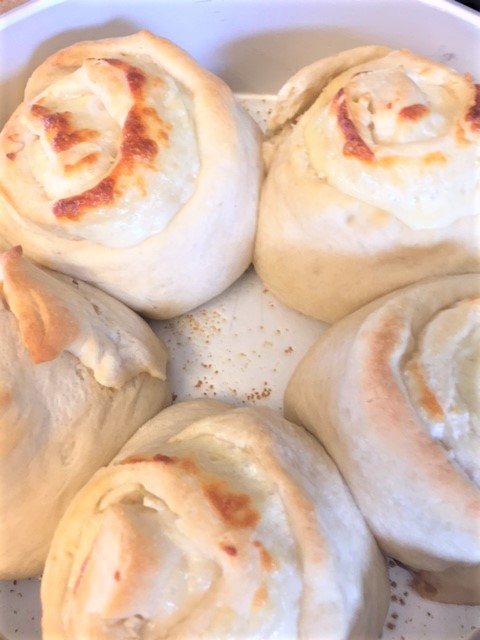
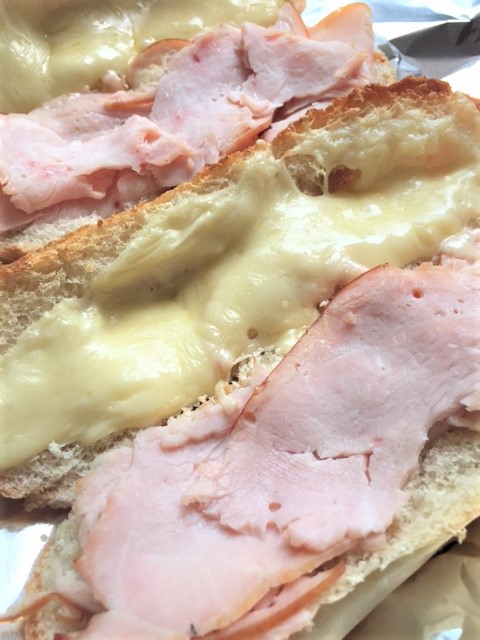
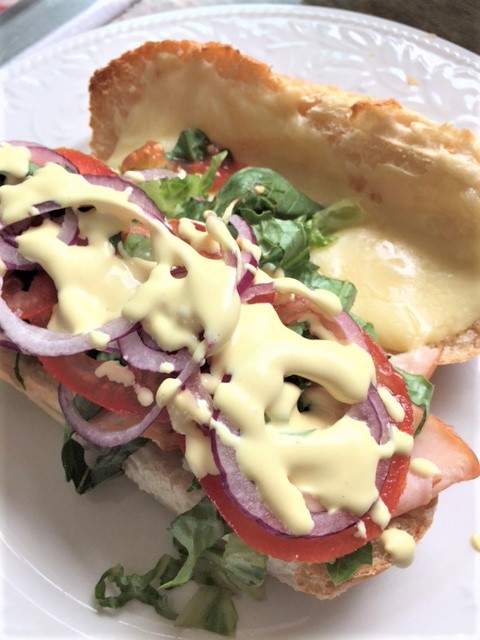
The sandwich pictured here, is a smoked turkey and Havarti cheese melt. I just put the turkey and cheese on a roll and put it in the oven. Then I put all the fixins……lettuce, tomato, onion. Then I drizzled on my no longer secret sandwich sauce. So good…..so messy. So, make your favorite sandwich and try this sauce!
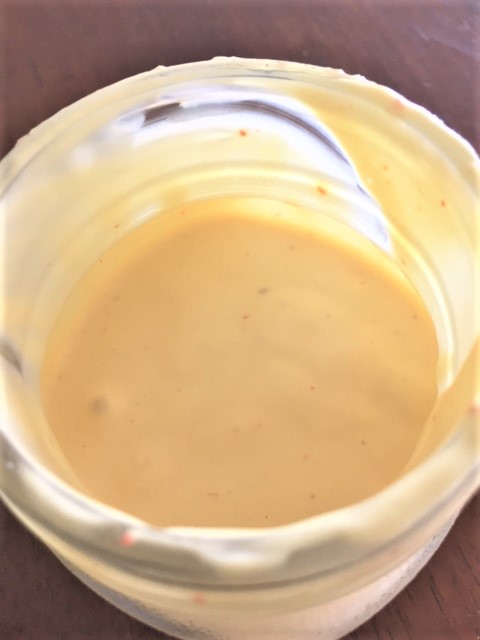
Secret Sandwich Sauce
1 cup mayonnaise
1/4 cup mustard
2 tsp red wine vinegar **
2 tsp olive oil
1 tsp soy sauce
1/4 – 1/2 tsp cayenne pepper, crushed red pepper flakes or hot sauce
Put all ingredients into a jar and give it a good shake. Store in refrigerator.
** if you don’t have red wine vinegar, you can use pickle juice or marinated jalapeno juice.