Orange Chocolate Chip Cookies……

As you all probably know by now…..I am an orange fan. I love orange flavor. In fact, I was trying to decide what I wanted to post tonight…my orange sour cream scones or these amazing cookies. The scones will come later. You have to know about these cookies. If you’ve never experienced the orange and chocolate combo, you are missing out. Orange and chocolate go so well together. This cookie may just be my new favorite cookie. I found the recipe on line several months ago, but I changed it up…the person who posted it, changed it up from another blogger. That’s the fun thing about recipes….you can change things to your liking.

This cookie has good chew, just enough crisp on the edges…..it’s thick, intensely orange and you get your chocolate fix. I think it may be a healthy cookie cuz of the vitamin C in citrus, right? Hmmm.

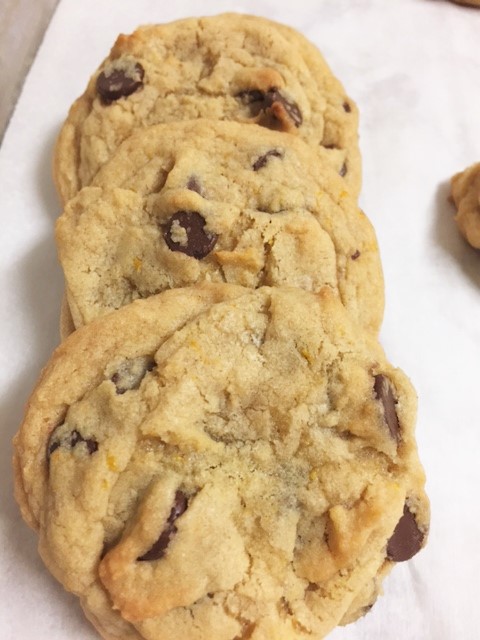
You gotta make these. I’m just so excited to share this….I want to go outside and shout out just how good these are! But my neighbors may think I have lost my mind. They already tease me about getting so excited over food stuff.

OH!!! Did I mention how good the dough is??? I’m not a cookie dough gal, but OMG!!

orangcc3

orangecc1 orangecc2

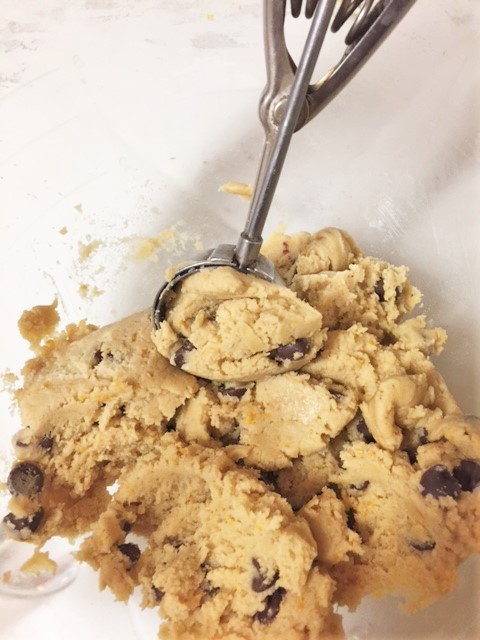
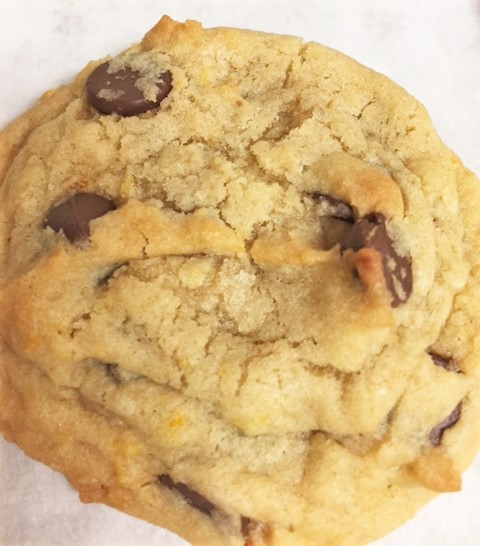
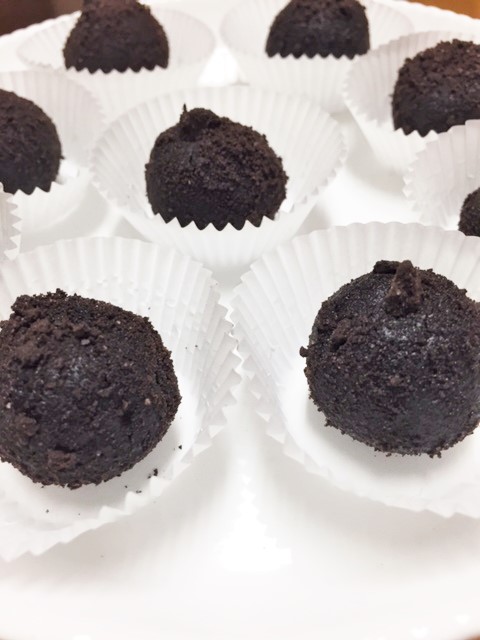
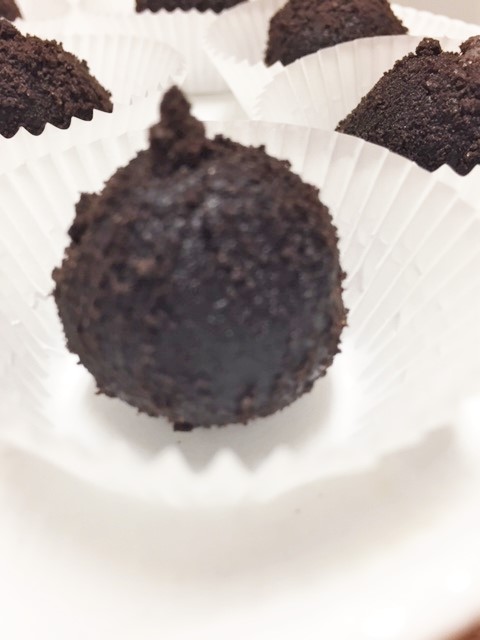
Just look at those bumpy little cracks of goodness!!! You see it, right? 🙂

Orange Chocolate Chip Cookie

3  1/4 cup all purpose flour
2  tsp cornstarch
1  tsp baking powder
1/2 tsp baking soda
1/2 tsp salt
2 sticks of butter, softened
1  cup regular sugar
1  cup packed light brown sugar
2 eggs
1  tblsp fresh orange zest
1  cup milk chocolate or semi sweet chocolate

Preheat oven to 350.
Line baking sheet with parchment. Set aside. In a bowl, mix together the flour, cornstarch, baking powder, baking soda and salt. Set aside.
In the bowl of an electric mixer, using the paddle attachment, beat the butter and sugars together until light and fluffy, about 2 minutes. Add the eggs and mix well. Add orange zest and mix until combined. Add the flour mixture to the sugar mixture, mixing gently. Stir in the chocolate chips .
Drop scoops of dough (about 2 tblsp) on the baking sheet. Bake for 10-11 minutes. Center should look a wee bit moist.

Let the cookies completely cool on the sheet.


Veggie-Cheese Stuffed Mushrooms….

There are a bazillion ways to do stuffed mushrooms. I think I’ve made em all. Yep, I have made a bazillion of them. I have so many favorites. My all time favorite is crab and cheese I think. Or maybe it’s the sun-dried tomato pesto. But it might be the bacon blue cheese. I mean, you could stuff anything in a mushroom and it would be good. I love mushrooms.

The ones here are veggie…….stuffed with more mushroom, bread crumbs, cheese, spinach, etc. I served them with a nice roast and it was the perfect pairing.

Here ya go:

mush1

mush2

Veggie-Cheese Stuffed Mushrooms

for 6  mushrooms

6 large mushrooms
1 clove of fresh garlic, minced
4 fresh spinach leaves
1/2 cup bread crumbs (I use Panko, since they are a bit crispy)
1 tblsp fresh minced shallot (green onion will work)
1/2 cup shredded mozzarella or Monterey Jack cheese
1/2 cup white wine (optional)

Wash and carefully remove stems from mushrooms. If your mushrooms aren’t big enough to hold much filling, gently scoop out some of the mushroom with a spoon.

Mince up the mushroom stems and the spinach leaves. In a skillet, melt 2 tablespoons of butter and add the minced stems, spinach, garlic, shallots, salt and pepper. Stir around for about a minute or so, until everything starts getting soft. Stir in the bread crumbs, until everything is well combined. Remove from heat and dump mixture into a bowl. Stir in most of the cheese, leaving a bit to sprinkle on top.

Fill the mushrooms. Sprinkle with cheese. Place in a buttered baking dish. I add about 1/2 cup of white wine, but it’s not necessary. Place in 350 degree oven for about 15-20 minutes.

My picture above shows a mushroom with tomatoes. I just had a bit of leftover cheese that I stuffed into a mushroom and pressed a grape tomato into it…..very plain, but delicious.


Quick and Easy Oreo Cookie Truffles…….

Looking for a super quick treat?

I don’t know one person who doesn’t like Oreo cookies. Cookies and Cream ice cream, cookies and cream cupcakes, cookies and cream bark, cookies and cream cake pops……I’ve made them all.  Now, these are alot like cake pops, but they aren’t dipped in chocolate and they are not on sticks. Now, of course you could do that if you want to, but I wanted something a bit more creamy and something quick and simple.  I am calling these truffles.  These make a great gift. They’re simple, but rich and delicious. They are so pretty too. With the holidays approaching……EEK, can you believe it?…..these would be a great gift. You could dip some in chocolate, drizzle with white chocolate, roll them in cocoa, sprinkles or nuts. The possibilities are endless. This time, I just rolled the balls in crushed cookie crumbs. Then you could put them in a pretty little candy boxes or a nice tin, tied with some ribbon. Who wouldn’t be happy to get that!

These are super simple and quick. So, no excuses to all of you “non bakers”. There is no cooking or baking involved. You can get out all your frustrations by crushing the hell outta some cookies. You get to play with “dough” and they are so inexpensive to make!!!

I also made some chocolate red wine truffles that are DELICIOUS. I will be posting those later in the week.

oreotruffles1 oreotruffles2 oreotruffles3 oreotruffles4

 Easy Oreo Cookie Truffles

1  package of Oreo cookies (your favorite flavor) plus another  half package to crush for coating
6 ounces of cold cream cheese
Optional flavoring: 1 tsp coffee liquor, Chambord, rum, bourbon, etc.

Remove all of the white filling from the cookies of one of the packages. If you want the truffles sweeter, leave the filling in 3 or 4 cookies. Place the cookies in the food processor and blitz, blitz, crush, crush to a fine crumb. Add the cream cheese and flavoring. Blitz again until you have a smooth mixtures that all comes together. Form the mixture into 1″ balls.

NO FOOD PROCESSOR? Put the cookies into a large zip lock bag and crush them to smithereens with a rolling pin or something heavy. Dump the crumbs into a bowl and add the cream cheese and mix it all together with your hands. Form into 1″ balls.

Take half the cookies from the other package and remove the filling. Crush the cookies into crumbs. Roll your balls into the crumb mixture, gently pressing the balls into the crumbs. Place into little paper candy cups. Store in refrigerator. These are good served chilled or at room temp.

Makes approx. 45 truffles.


Orange Pull Apart…………….

Oozy, goozy, sticky sweetness. That’s what this treat is. Tender folds of orange doughy goodness, with a hint of cinnamon and vanilla. OHMERGAWWWD. Besides the fact that this is absolutely delicious, it’s fun to eat too. You pull apart the layers one by one, pop them into your mouth….ya say mm-m-m-mmmm and go for the next layer. Seriously this is good stuff. I’ve made this with lemon, orange, cinnamon-butter. All are good. But this orange is my favorite. It’s been awhile since I made this. I can’t believe I haven’t posted it until now.

I used my basic cinnamon roll dough. You can use the frozen Bridgeford bread dough, if you are not into making doughs. It works fine, but of course homemade dough is best. Use your favorite cinnamon roll dough recipe, or use mine. You can even make this in muffin tins. That’s fun too.

orangepullapart6  orangepullapart5

orangepullapart4 orangepullapart3

orangepullapart2 orangepullapart1

Orange Pull Apart Loaf

Dough:
1 cup whole milk
2 tablespoons of butter
3  1/2 cups flour
1/2 cup sugar
1 egg
1 envelope of rapid rise yeast
1 tsp salt

Filling:
1  tblsp. orange zest
1  tsp cinnamon
1/3 cup butter, softened
1  cup brown sugar

heat the milk and butter just until the butter melts. Should be just warm. NOT TOO HOT or you will kill your yeast. Killing is not nice. Pour into a standing mixer with a paddle attachment. Add 1 cup of the flour, sugar, yeast and salt. Beat on low for 3 minutes, scraping sides of your bowl. Add 2  1/2 cups of flour. Beat on low till flour is all incorporated and your dough is sticky. If it’s too sticky, add 1 tablespoon of flour at a time until the dough starts to form a ball and pulls away from the sides of the bowl. MAKE SURE DOUGH IS NOT TOO STIFF. Turn dough onto a floured surface. Knead it until it’s smooth and stretchy like for about 7 minutes. It’s a good workout! Whew! Form into a smooth ball. Lightly butter a bowl and plop your ball into it. Move it around so it’s coated with butter. Cover with plastic wrap and then put a clean towel over it. Let it double in size in a draft free place, about 2 hours. In the mean time, mix up your  filling.

Remove dough from bowl and place it on a floured surface. Roll out to about 12″ x 16″. Mix together the ingredients for the filling. Gently spread it all over your dough. Cut 4″ squares of dough. Lightly grease a loaf pan. If you don’t have a loaf pan, use a cake pan. If you use a cake pan, cut your dough squares 3″ x 3″. Place your squares of dough into the loaf pan, placing some with the corners up. (makes it prettier)  Don’t press them tightly together. Cover with a loose towel and let it set for about 30 minutes.

Preheat oven to 350 and bake loaf for about 25 minutes. I tend to under bake these since I like a bit of doughy-ness.

Allow to set about 20 minutes. Carefully remove from pan and drizzle with glaze (below)

Glaze:

1 cup powdered sugar
1 tblsp. orange zest
orange juice (just enough to get the consistency you like)

Mexi-Corn……

I love fresh corn in the summer. Don’t you? I like it steamed, boiled in butter, grilled, roasted, on the cob….off the cob. I love it. One of my favorite restaurants served a corn side dish recently, that I just couldn’t get enough of. So, of course I had to copy it. Mine was way better if I do say so myself. I think I’ve made it 3 times in the last 3 weeks. Even though I used fresh corn on the cob, this would work with frozen or canned corn as well. It’s light, fresh and filling. It was a great side dish to my baked chicken! I hope you will try it.

Sorry for the slightly blurry pics. I got a little excited. 🙂

mexi-corn2


mexi-corn1

Mexi-Corn

serves 4

4 ears of fresh corn on the cob (or 2 cans, or 1 frozen pkg)
1 fresh jalapeno, minced
2 green onions, sliced
1/4 – 1/2 cup minced bell pepper (I used an orange bell)
1/4 – 1/2  cup chopped fresh cilantro
2 cloves of fresh garlic, minced
salt and pepper to taste (heavy on the black pepper)
1/2 stick of butter (better with the whole stick)

Remove the corn from the cobs. In a large skillet, melt the butter. Add everything except the cilantro, into the pan. Stir it around until the corn is cooked to the consistency you like. It’s better when the corn is still crisp. Add the cilantro at the end, give it a stir, stir, stir.
That’s it! Easy.