Do you like meatloaf? Remember the meatloaf your mom made with the ketchup on top? I always thought my mom’s meatloaf was dry. But I loved a meatloaf samich the next day on white bread with just some mayo. It is still one of my favorite samiches. Well the meatloaf I make is not like any meatloaf my mom ever made. My sister gave me this recipe years ago. Everyone I have ever made it for has gone nuts. In a good way. 🙂
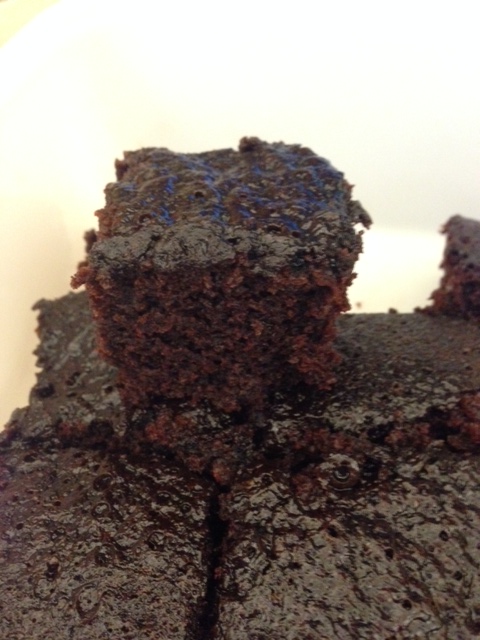
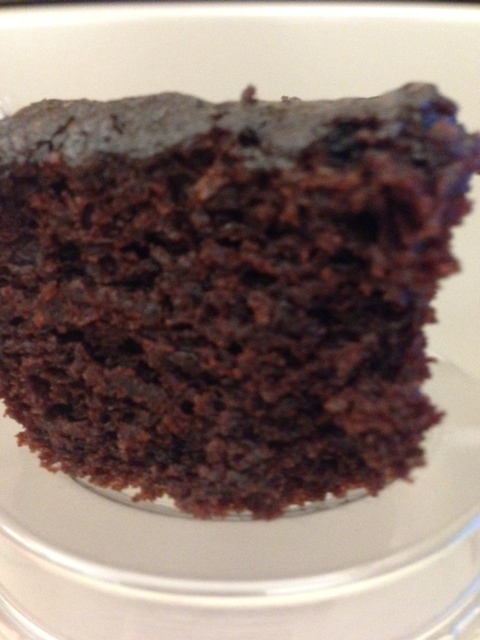
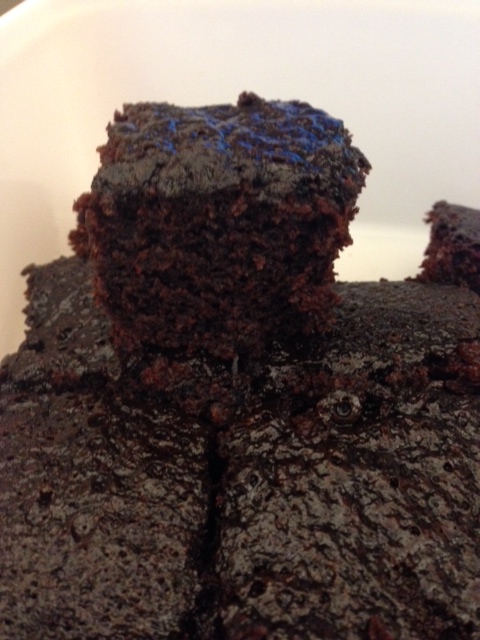
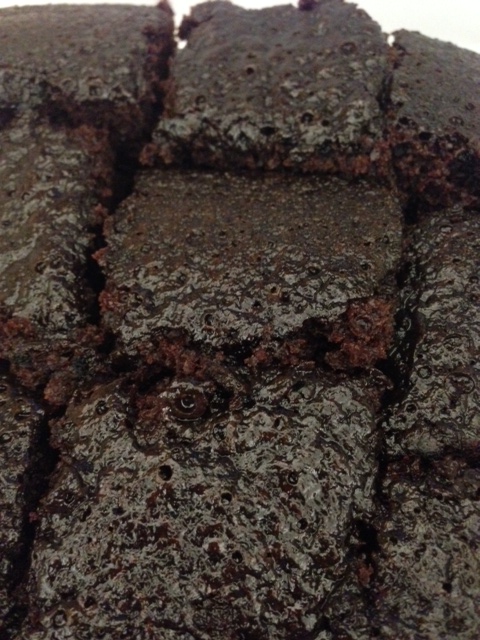
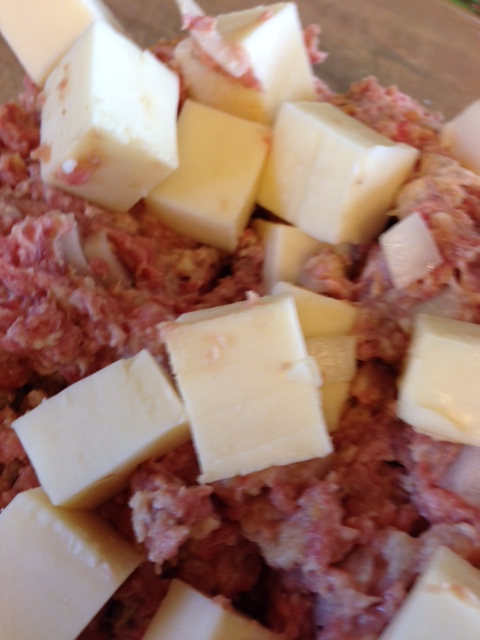
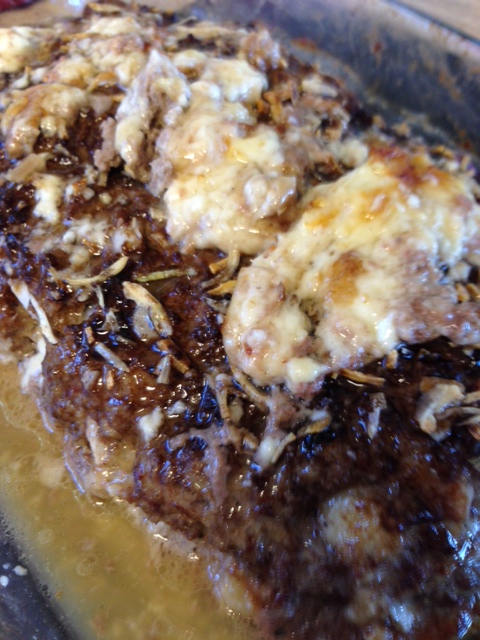
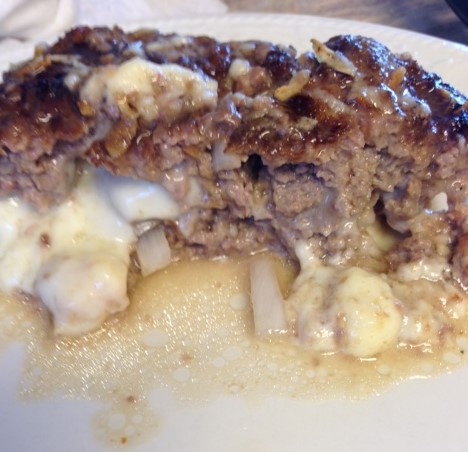
It isn’t the least bit bready or dry. In fact it hardly stays together because it is so juicy and oozy goozy with cheese. Super easy too. I suppose if you want, you could use ground turkey. But I have never tried it that way. I’m sure it would work well though. What really makes this meatloaf unusual is the cheese. I cut it into cubes and mix it in with the rest of the ingredients. You poke it all in so you don’t see the cheese when you form it into your loaf. Then once cooked and sliced, the cheese is all oozing and melty. The next day you slice it, slightly pan fry it and put it on some of your favorite bread or a bun, FANTASTIC!! (Picture of the samich tomorrow)


The Best Meatloaf
1 1/2 lbs of ground beef
1 small onion, minced
1 can of cream of mushroom soup
1 8oz block of Monterey jack cheese
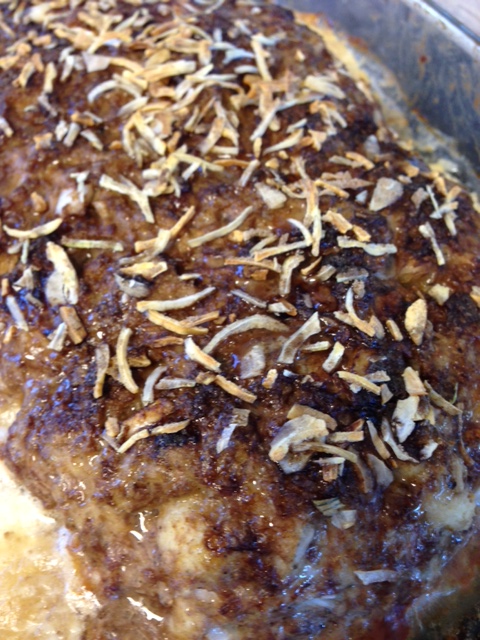
1 pkg Lipton onion soup mix
small piece of bell pepper, minced (optional. I don’t use it because it makes me burp)
1 tsp garlic powder
salt and pepper
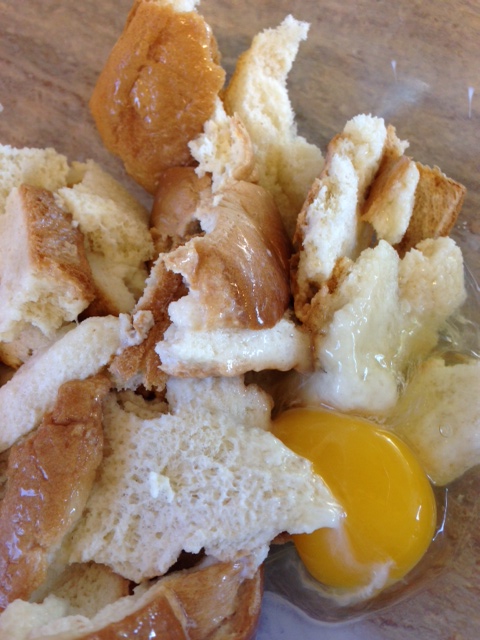
3 slices of bread
1 egg
enough milk to soak the bread in so its wet (approx. 1/4 cup)
Preheat your oven to 350. In a big ol bowl, break up your bread slices and add the milk and egg. Squish it all until it gets all mooshy (technical baking term). Add the ground beef, onion, cream of mushroom soup, garlic powder salt and pepper. Add the cubes of cheese. mix it all up without breaking the cheese cubes. Dump it in a 9 x 11 baking dish and form it into a loaf. Sprinkle half of the Lipton soup mix on top of the loaf. If you like things SALTY, use the whole packet. Place your pan in the oven for 1 hour….maybe an hour and 10 minutes. Remove from oven and let it set for about 10 minutes before slicing. Serve with mashed potatoes. So yummy.